Hive Workshops

In partnership with DMCI Homes

Metroscapes 35

Roofdeck Cityscape Photography Experience

“Metro Manila looks different from up here.”

October 16–18, 2026Pasay · Pasig · Manila

Between shoots — next: Day 3, Sun · Oct 18, 15:00
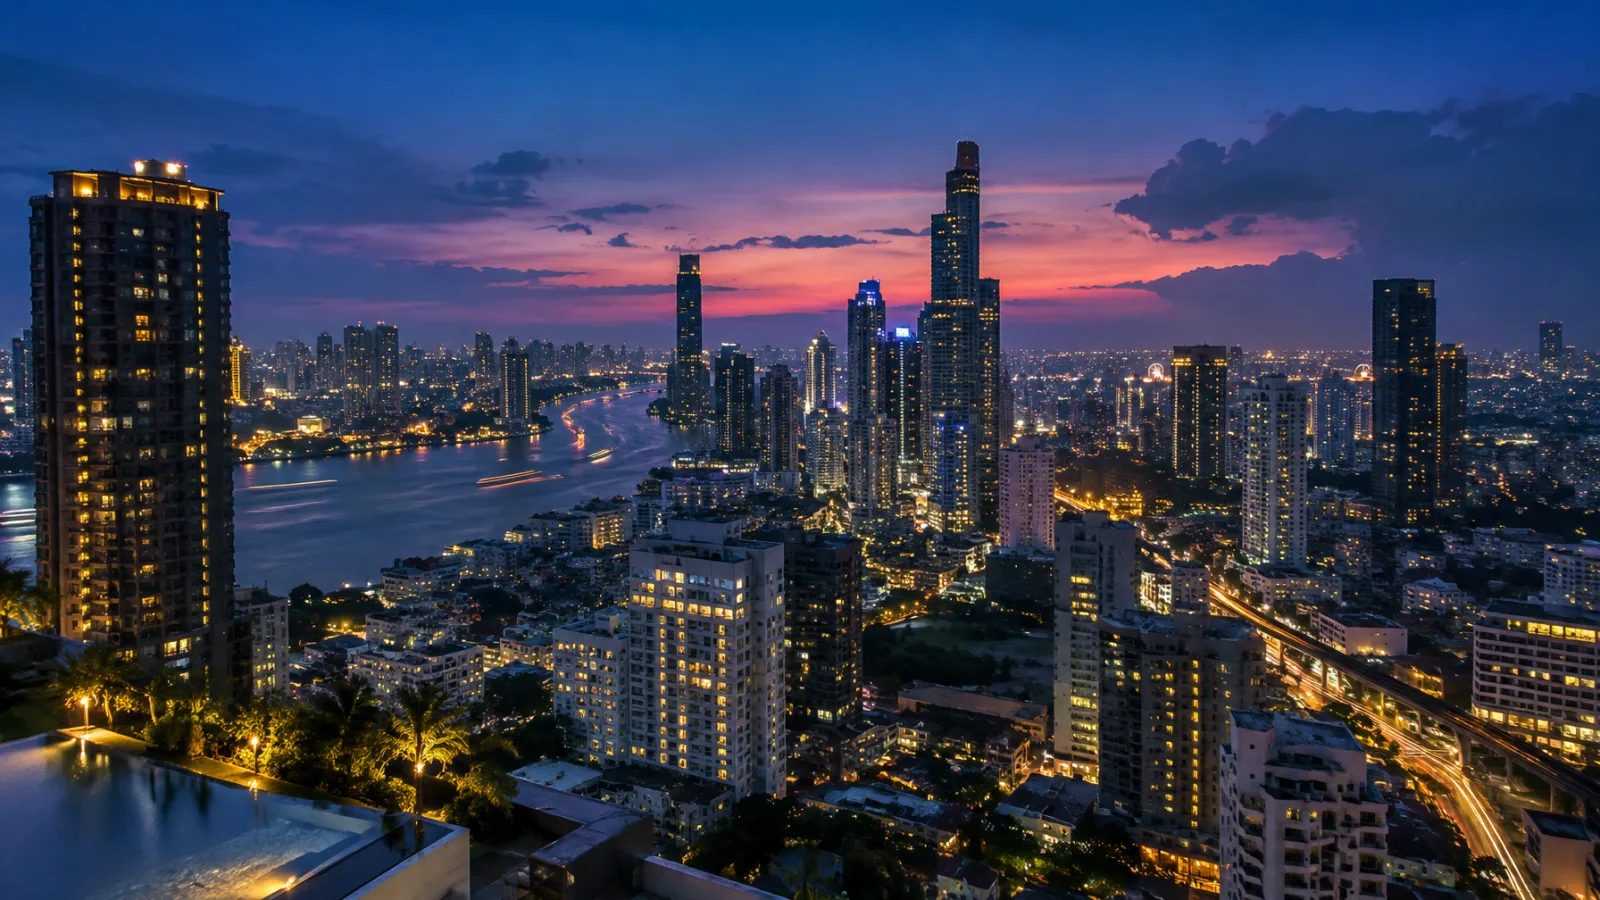
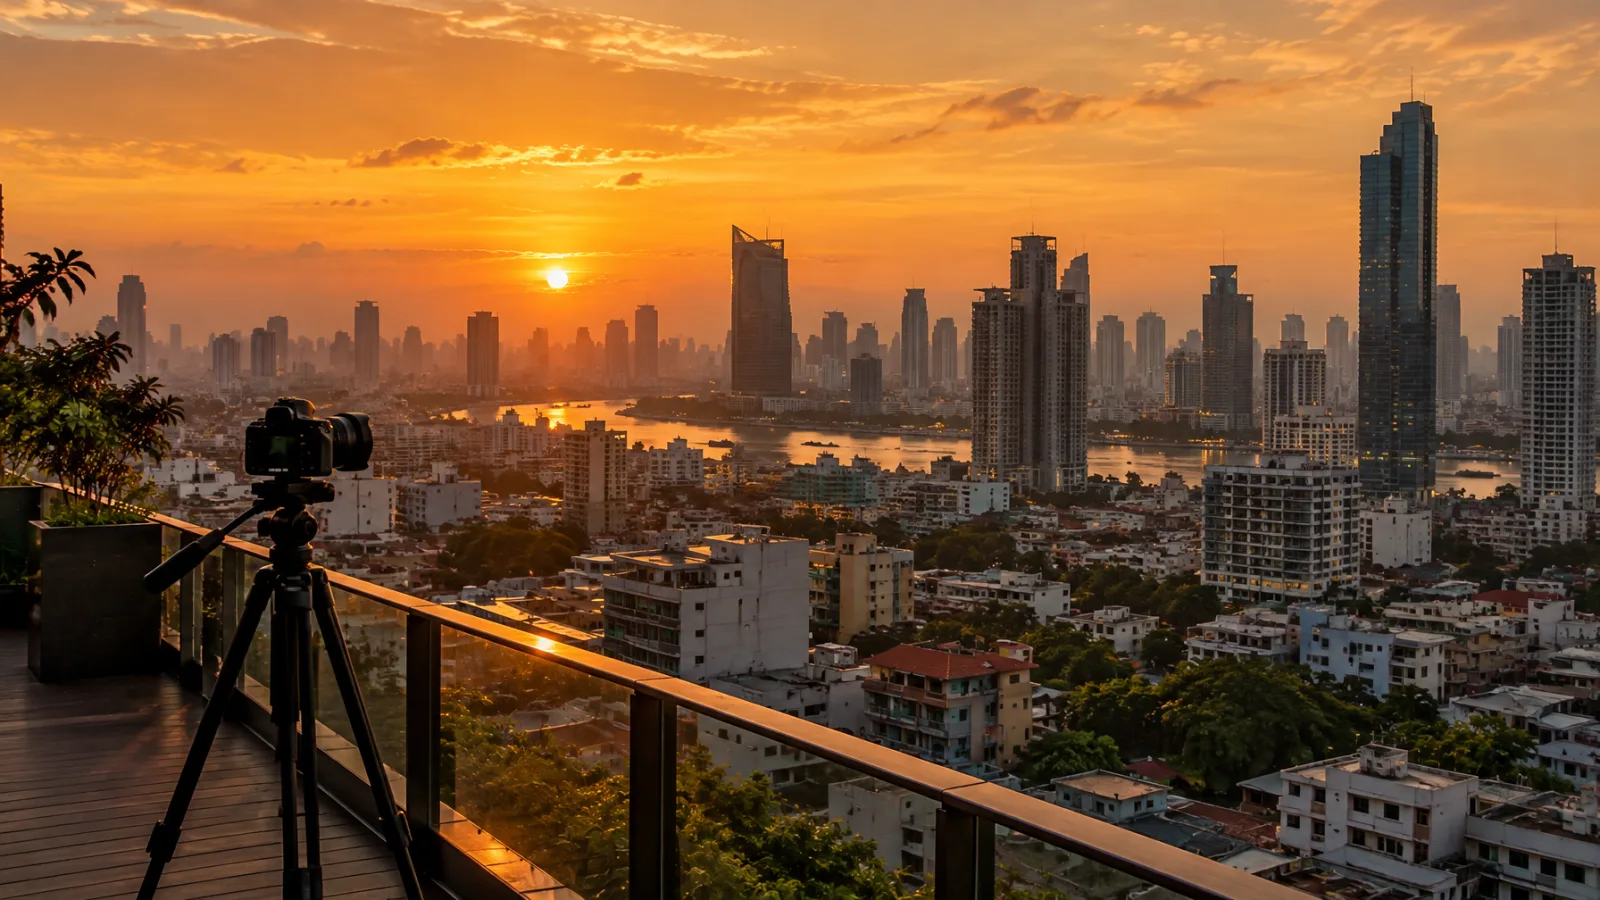
Illustrative AI image: golden-hour city skyline from a roof deck with a camera on a tripod in the foreground
Illustrative imagery · AI-generated

01 · Overview

Metro Manila looks different from up here.

Metroscapes 35 is a Roofdeck Cityscape Photography Experience in partnership with DMCI Homes: three roof-deck shoots across Metro Manila on October 16–18, 2026. Sunset in Metro Manila is around 5:30 PM in mid-October, so each session is built around golden hour, blue hour and night.

On Saturday, October 17, Fujifilm Philippines hosts a special workshop, “Telephoto Lenses: Composition and Techniques for Landscape Photography”, at 3:00 PM on the Amina Tower Roof Deck. The original Day 1 shoot at Fortis Residences, Makati will be held on a later, additional date; an invitation will be sent once it is confirmed.

  • WhenFri Oct 16 · Sat Oct 17 · Sun Oct 18, 2026
  • WhereThree roof decks across Metro Manila
  • LightSunset about 5:30 PM — golden hour, blue hour, night
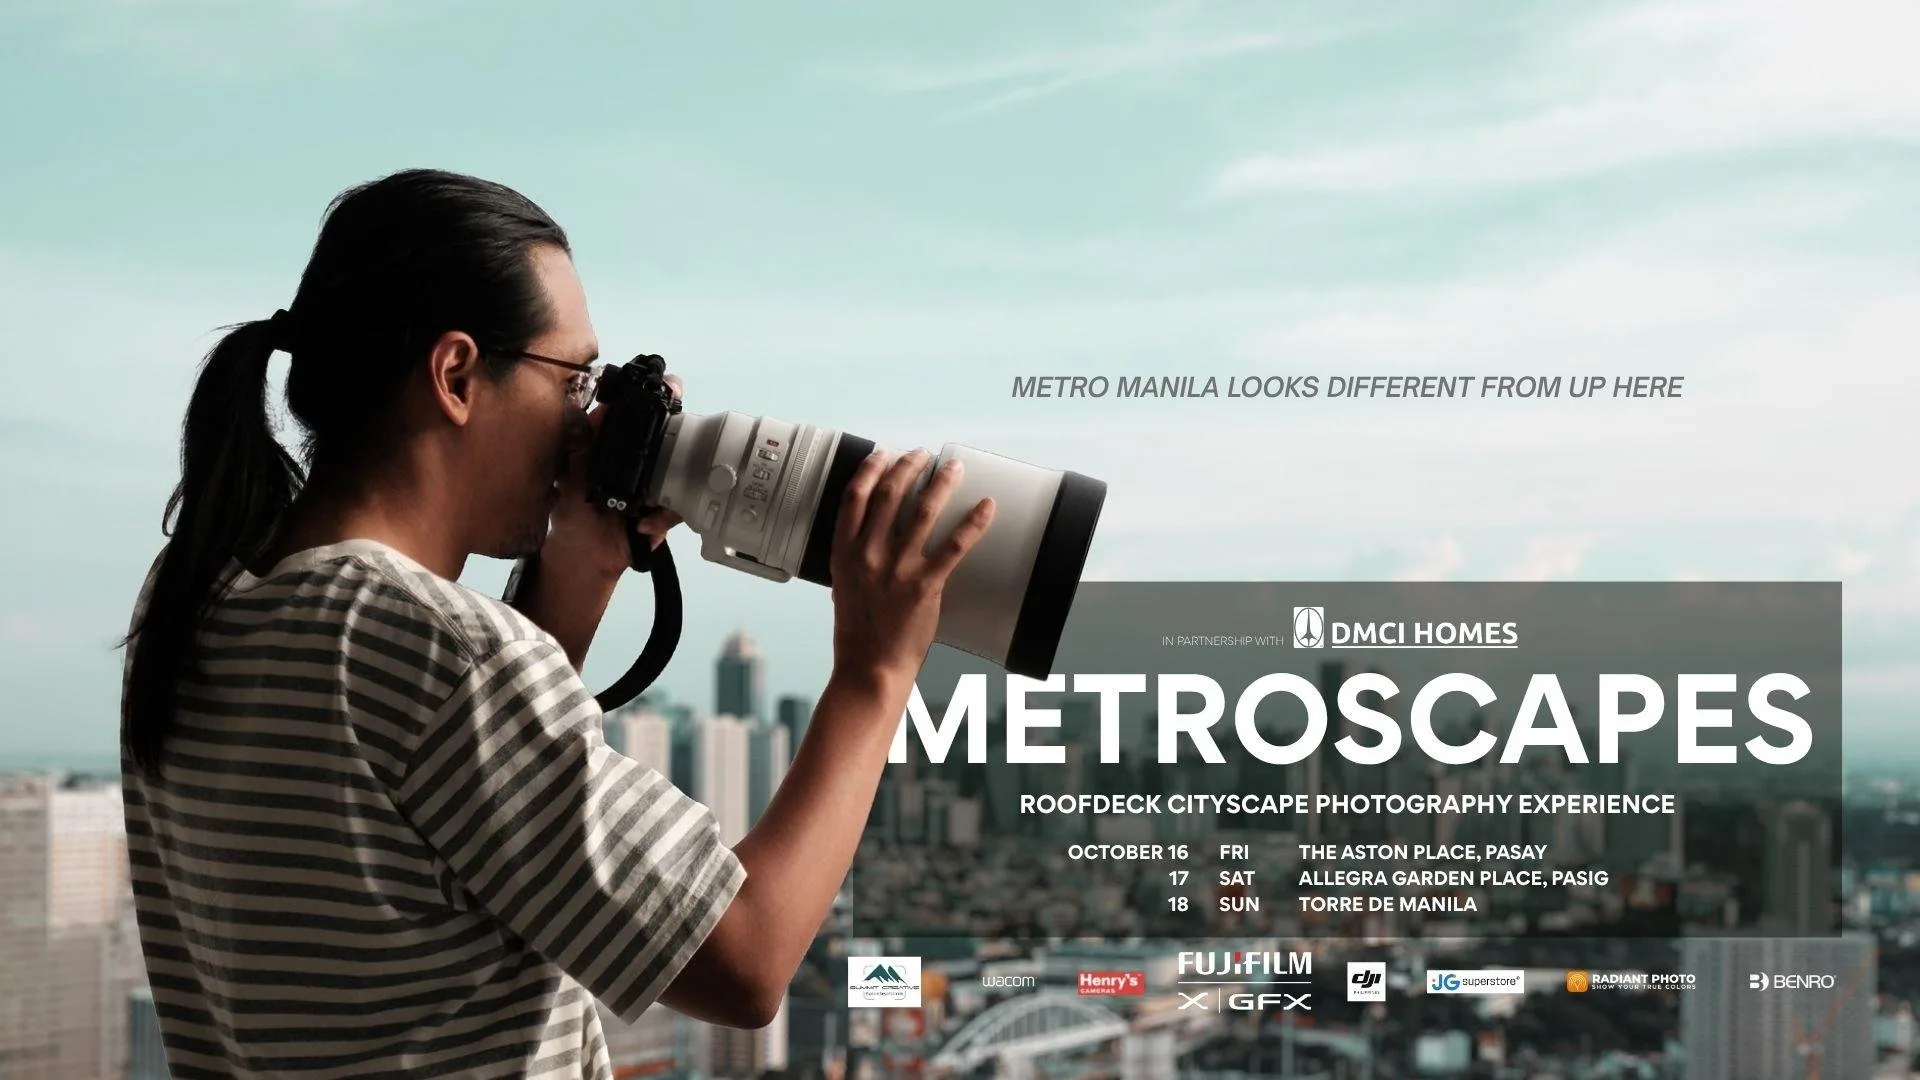
Metroscapes poster: Roofdeck Cityscape Photography Experience, October 16–18, in partnership with DMCI Homes. Fri Oct 16 The Aston Place, Pasay; Sat Oct 17 Allegra Garden Place, Pasig; Sun Oct 18 Torre de Manila.
Official event poster

02 · Locations & schedules

Three days, three roof decks

Sunset in Metro Manila is around 5:30 PM in mid-October — plan to be set up and framed for golden hour, then stay for blue hour (about 10–30 minutes after sunset) and night.

01Wrapped

Friday · October 16

4:00 PM – 8:00 PM

The Aston Place

Dominga Street, Pasay City
Limited parking, first come first served.

Note: The original Day 1 shoot at Fortis Residences, Makati will be held on a later, additional date. An invitation will be sent once it is confirmed.

  1. Check-in, set-up & golden houruntil 5:30 PM · The Aston Place, Pasay

    Register with security (valid ID), set up your tripod and frame the skyline before the light gets good. Suggested rhythm around the ~5:30 PM sunset.

  2. Sunset to blue houruntil 6:30 PM · The Aston Place, Pasay

    Shoot toward the sun, then stay for blue hour (about 10–30 minutes after sunset). Think “shots for blending”.

  3. Night cityscapeuntil 8:00 PM · The Aston Place, Pasay

    Bright building clusters, long exposures and 3-shot bracketing until 8:00 PM.
02Wrapped

Saturday · October 17

3:00 PM – 8:00 PM

Allegra Garden Place — Amina Tower Roof Deck

Pasig Boulevard, Bgy. Bagong Ilog
Limited parking, first come first served.

Special workshop with Fujifilm Philippines
“Telephoto Lenses: Composition and Techniques for Landscape Photography” · 3:00 PM · Amina Tower Roof Deck

  1. Fujifilm Philippines workshop & golden houruntil 5:30 PM · Amina Tower Roof Deck, Allegra Garden Place

    Special workshop at 3:00 PM: “Telephoto Lenses: Composition and Techniques for Landscape Photography”, then golden-hour shooting on the Amina Tower Roof Deck.

  2. Sunset to blue houruntil 6:30 PM · Amina Tower Roof Deck, Allegra Garden Place

    Sunset is around 5:30 PM; blue hour follows about 10–30 minutes later.

  3. Night cityscapeuntil 8:00 PM · Amina Tower Roof Deck, Allegra Garden Place

    Night frames, light trails and bracketed blends until 8:00 PM.

03Up next

Sunday · October 18

3:00 PM – 8:00 PM

Torre de Manila

Taft Avenue, Manila
Limited parking, first come first served.

Drone advisory: flying from Torre de Manila is severely discouraged — drone-jamming technology is present in the area.

  1. Check-in, set-up & golden houruntil 5:30 PM · Torre de Manila, Taft Ave

    Register with security (valid ID) and set up. Drone flying from Torre de Manila is severely discouraged (drone-jamming technology in the area).

  2. Sunset to blue houruntil 6:30 PM · Torre de Manila, Taft Ave

    Sunset is around 5:30 PM; blue hour follows about 10–30 minutes later.

  3. Night cityscapeuntil 8:00 PM · Torre de Manila, Taft Ave

    Night frames and bracketed blends until the 8:00 PM wrap.

Agenda windows are a suggested rhythm built around the stated shoot hours and the ~5:30 PM sunset; each shoot is self-paced. Map buttons search by venue name. Always follow the security desk for the correct tower entrance.

03 · Camera setup & manual settings

Settings by light

Starting points based on the Metroscapes “Recommended Camera Settings” lecture (Jay Jallorina), expanded with practical setup, focus and bracketing notes. Always confirm exposure with your live histogram — light changes fast on a roof deck.

Golden hour

Composition
Side-light; keep the sun off-frame, sun to your side
ISO
100
Aperture
f/11
White balance
5200–6000 K
Filters
CPL · 3-stop soft GND · 6/10-stop ND for long exposures
Notes
Use live view/histogram to set shutter speed; enable level indicator

Sunrise / sunset

Composition
Shoot toward the sun; skyline near-silhouette
ISO
100
Aperture
f/11 (f/22 for starbursts)
White balance
6000–6500 K
Filters
3-stop reverse GND · 6/10-stop ND
Notes
Use 3-shot AEB for blending

Blue hour

Composition
Building clusters with rich, colourful lighting; start ~10 min after sunset
ISO
100
Aperture
f/11
White balance
~8000 K (very subjective)
Filters
3-stop soft GND (may not be needed late)
Notes
Long-exposure NR off; think “shots for blending”

Night

Composition
Bright building clusters; keep frame bright; short exposures for highlights to blend later
ISO
100–200
Aperture
f/8–f/11
White balance
3200–3800 K
Filters
Clear-night filter (optional)
Notes
Use the ISO 6400 guide below; level indicator on

Exposure triangle, cityscape style

  • ISO: stay at base (100) for the cleanest files; go to 200 only to shorten very long exposures.
  • Aperture: f/8–f/11 is the sharpness sweet spot; f/16–f/22 for light stars but diffraction softens detail.
  • Shutter: the variable. Golden hour typically 1/15–2 s at f/11; blue hour 2–15 s; night 15 s–minutes.
  • Histogram: “expose to the right” without clipping window lights; protect highlights, lift shadows in post.

Focus

  • Switch to manual focus once set; tape the ring if windy.
  • Live view → zoom 10× on a distant building edge or a bright light and fine-tune.
  • Skyline subjects are far away: focus at infinity then back off a hair; for foreground interest use hyperfocal distance at f/8–f/11.
  • For telephoto, expect heat haze and haze layers — shoot after sunset or at higher elevation angles to reduce it.

Lenses & framing

  • Ultrawide (14–24 mm): foreground railings, pools, lines leading to the skyline.
  • 24-70 mm: mid-distance clusters; best all-rounder for the distant views mentioned in the briefing.
  • Telephoto (70–200 mm+): compress layers of buildings; see the Fujifilm workshop (Oct 17).
  • Keep verticals straight: level camera first, correct in post only if needed.

Filters in practice

  • CPL: cuts glare and haze at golden hour; rotate while watching live view. Not for night.
  • GND: 3-stop soft for golden hour; reverse GND at sunset where the brightest band is at the horizon.
  • ND 6/10-stop: blur clouds and traffic in daylight; add a lens cap/cloth over the viewfinder to block stray light.

The ISO 6400 guide (night exposure shortcut): 1 second at ISO 6400 ≈ 1 minute at ISO 100. Set ISO 6400, change only shutter speed until the exposure looks right. If that takes 4 s, switch to ISO 100 + BULB and shoot ~4 minutes (ISO 200 = ~2 minutes).

03b · Rig & blend

Set up before the light gets good

Tripod & rig

  • Spread legs low and wide; hang your bag on the centre hook against wind.
  • Extend the thick leg sections first; keep the centre column down.
  • Level the head using the camera’s horizon level indicator (virtual horizon).
  • With a long lens, mount the lens collar / foot to the tripod, not the camera body.
  • Keep gear away from the roof edge when changing lenses or filters.

Camera menu once

  • Format: RAW (L). Add JPEG only if you want quick previews.
  • Mode: M (manual). Av/A is fine for scouting.
  • Picture style: Landscape / Vivid (affects review only when shooting RAW).
  • Image stabilisation: OFF on tripod (unless your lens manual says otherwise).
  • Long-exposure noise reduction: OFF for blue hour/night (saves time; clean up in post).
  • Display: turn on live histogram + gridlines; use mirror lock-up / electronic first-curtain or 2s timer.

Auto Exposure Bracketing (AEB) for blending

Canon EOS (from the lecture)

  • Menu → Expo.Comp./AEB: 1-stop between brackets.
  • Custom Functions → Exposure: number of bracketed shots = 3.
  • Bracketing auto cancel: Disable. Sequence: −, 0, +.
  • Half-press previews the darkest “−” frame — check it has no blown highlights.

Other systems

  • Nikon: Bracketing (BKT) button + main dial = 3 frames, 1 EV; use Cl/continuous or timer.
  • Sony: Drive → Bracket Cont. 3 frames, 1.0 EV; set 2s timer or remote.
  • Fujifilm X/GFX: Drive → AE BKT 3 frames, ±1 EV; set Self-timer 2s.
  • Use 2-second timer or remote so all frames are tripod-steady, then blend in Lightroom/Photoshop (see tutorials).

Panoramas (stitch in Camera RAW)

  • Shoot in portrait orientation for more height; overlap frames 30–50%.
  • Use manual exposure, manual focus and fixed white balance so frames match; avoid moving subjects across seams.
  • Pan level around the lens (or at least keep the camera level); finish the sweep, then take a hand-over-lens frame as a marker.
  • Stitch single-row panos as shown in the tutorial video “Stitching Single Row Panoramas”.

04 · Six ways to frame the city

Camera angles

Composition overlay
Illustrative AI image for Wide-angle: Ultrawide: foreground railings, pools, lines leading to the skyline.14–24 mm

01 Wide-angle

Ultrawide: foreground railings, pools, lines leading to the skyline.

Illustrative AI image for Telephoto compression: Compress layers of buildings; see the Fujifilm workshop on Oct 17. Expect haze layers: shoot after sunset or at higher elevation angles.70–200 mm+

02 Telephoto compression

Compress layers of buildings; see the Fujifilm workshop on Oct 17. Expect haze layers: shoot after sunset or at higher elevation angles.

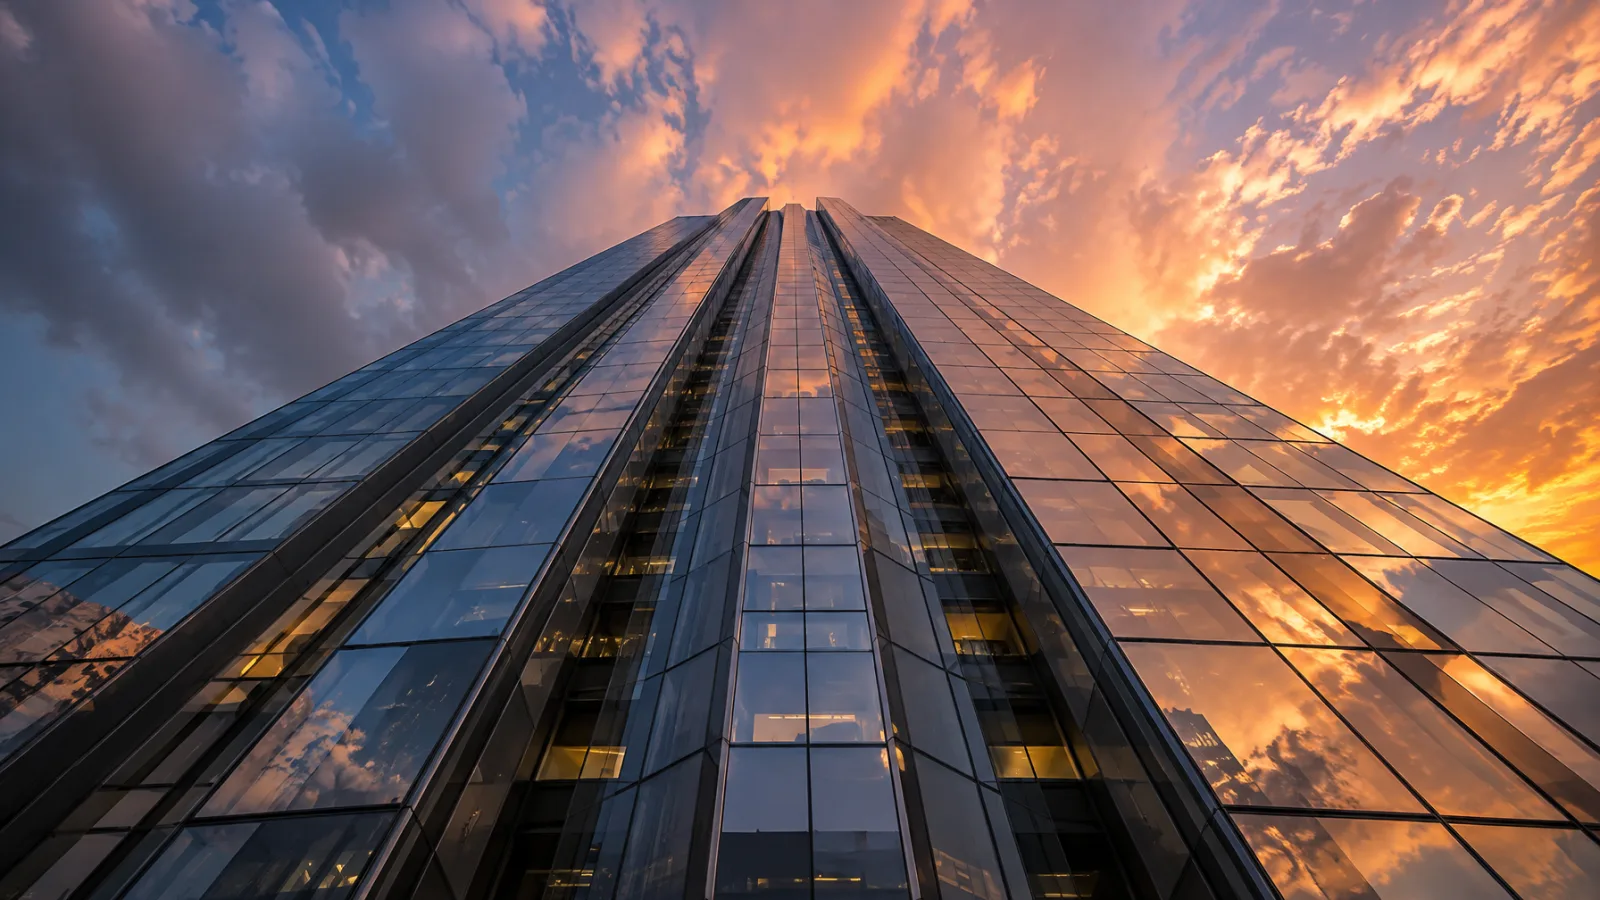
Illustrative AI image for Low angle: Keep verticals straight: level the camera first, correct in post only if needed.14–24 mm

03 Low angle

Keep verticals straight: level the camera first, correct in post only if needed.

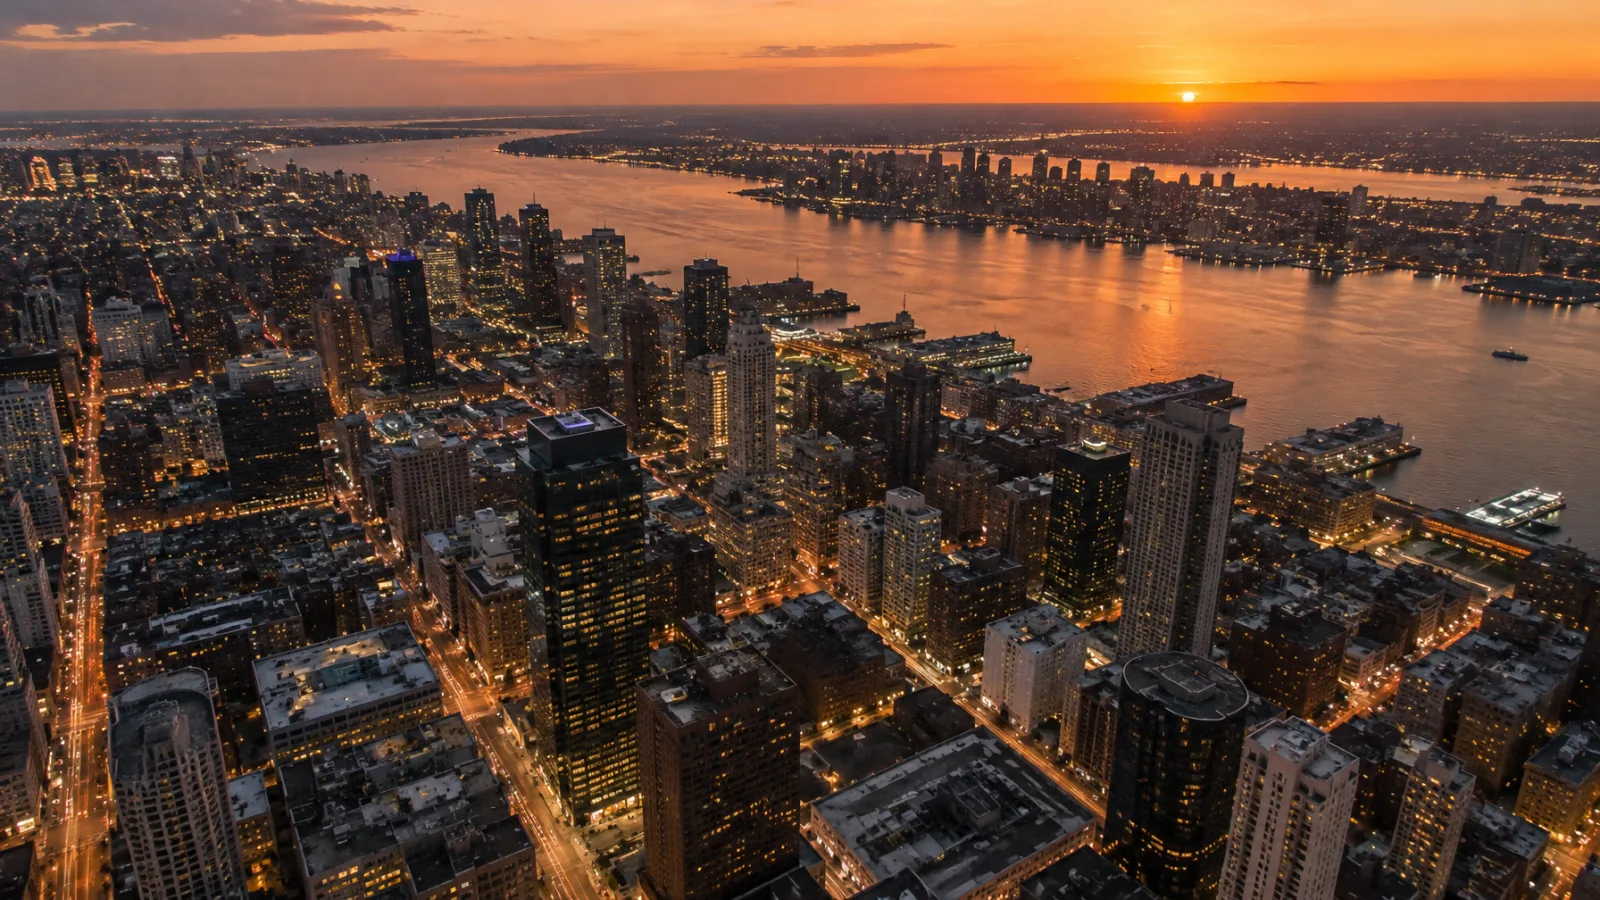
Illustrative AI image for High angle / aerial: Top-down over roads for light trails at blue hour. Check drone rules and ask security first.Drone · own risk

04 High angle / aerial

Top-down over roads for light trails at blue hour. Check drone rules and ask security first.

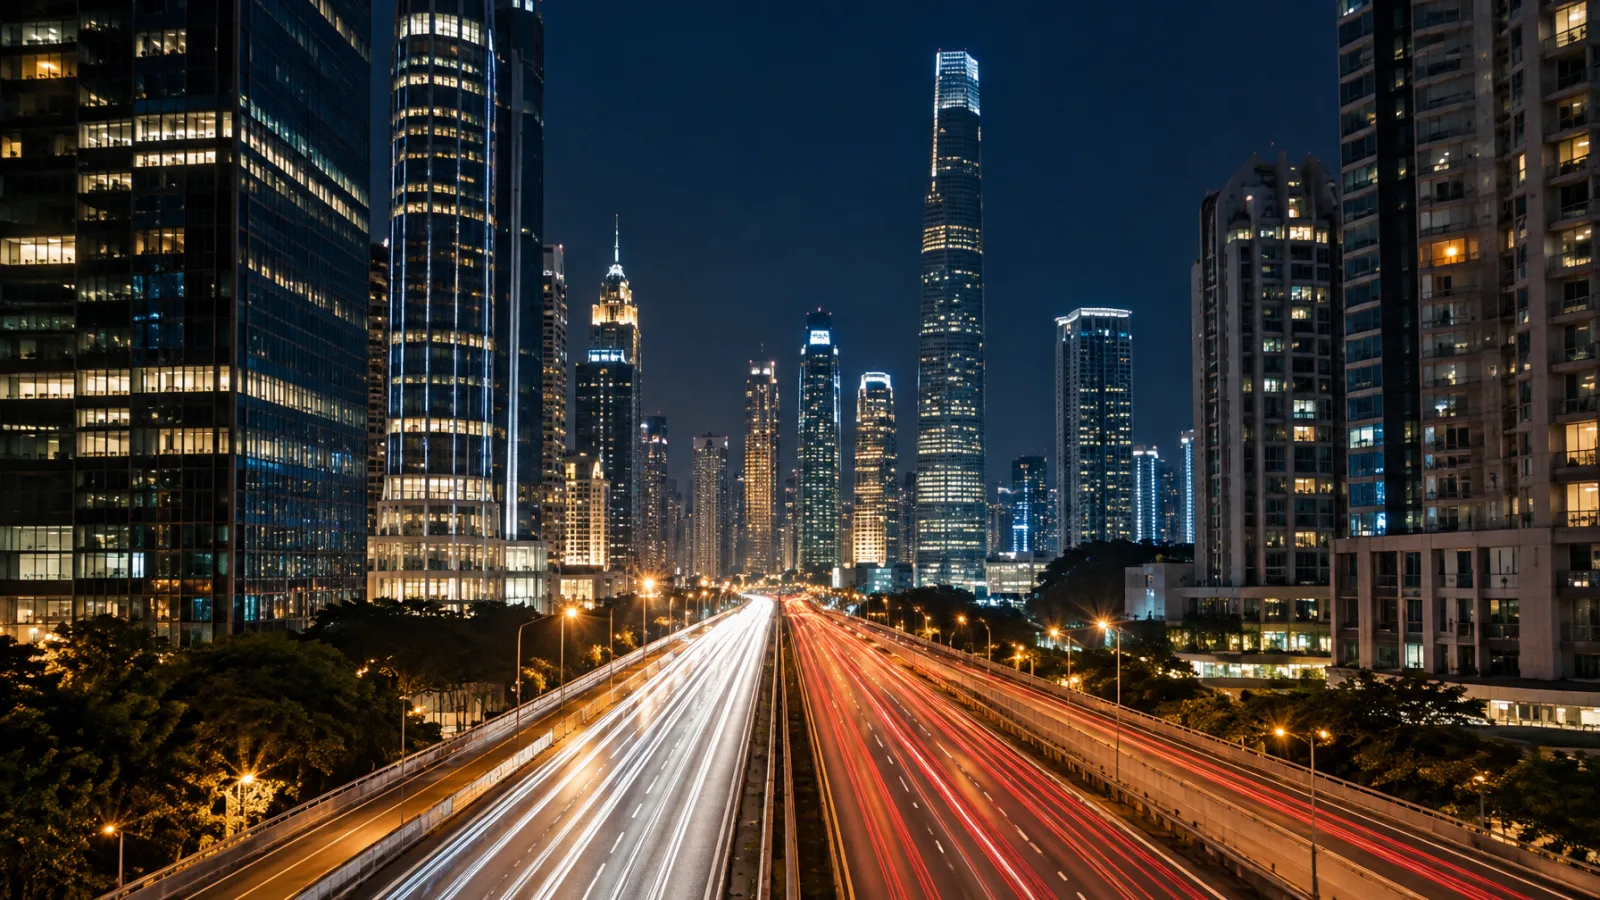
Illustrative AI image for Long exposure: Blue hour 2–15 s; night 15 s–minutes. 6/10-stop ND blurs clouds and traffic in daylight.Tripod · 24–70 mm

05 Long exposure

Blue hour 2–15 s; night 15 s–minutes. 6/10-stop ND blurs clouds and traffic in daylight.

Illustrative AI image for Panorama / bracketed blend: Manual exposure, focus and white balance; shoot 3-shot AEB (−, 0, +) and blend in Lightroom/Photoshop.Portrait frames, 30–50% overlap

06 Panorama / bracketed blend

Manual exposure, focus and white balance; shoot 3-shot AEB (−, 0, +) and blend in Lightroom/Photoshop.

Bracketed blend, simulated

Drag to compare a darker “−” bracket with the blended result. Shoot 3 frames (−, 0, +) with AEB and blend in Lightroom/Photoshop — see the lessons below.

Blended result: balanced golden-hour skyline (illustrative AI image)
Darker bracket: underexposed copy of the same illustrative image
−1 EV bracketBlended

Illustrative: the same AI image with the exposure lowered to mimic a darker bracket.

06 · On arrival

Check-in etiquette

  1. Identify yourself to the building security as part of the photography group “METROSCAPES” shooting at the roof deck.

  2. Driving? Tell security and use the designated / available / paid parking slot.

  3. Register at the lobby security desk and be ready to present a valid ID.

  4. Don’t arrive too early. We don’t want to inconvenience the residents.

  5. Once security permits, proceed to the roof deck and start shooting when you’re ready.

07 · Things to bring

Packing checklist

Tap items to tick them off — your ticks are saved on this device only.

Essentials must have

Recommended nice to have

Before you leave the roof deck

Dress: Jacket / windbreaker recommended — it can be cold and windy up there.

08 · Drone footage settings

If you’re flying a drone

Your responsibility, your risk. The briefing allows flying from the roof deck at the participant’s own risk. Torre de Manila (Oct 18): flying is severely discouraged due to drone-jamming technology. The Aston Place (Pasay) is also fairly close to the airport area; check your drone app’s no-fly/geofence map and Philippine CAAP rules (registration, altitude limit, line-of-sight, no flying over people) before flying. Ask building security first.

Pre-flight checklist
Photo settings (stills)
LightFormatISOApertureShutterWBNotes
Golden hourRAW/DNG (+JPEG)100f/5.6–f/8 (fixed-aperture models: use as-is)1/100–1/5005200–5600 KExposure comp −0.3 to −0.7 EV to protect highlights
Sunset / backlitRAW/DNG100f/5.6–f/81/50–1/2006000–6500 KUse AEB 3 or 5 shots at ±1–2 EV, then blend or run HDR
Blue hourRAW/DNG100–400f/2.8–f/5.61/4–2 s7000–8000 KHover steady; ≤1 s without strong wind; take several frames
NightRAW/DNG400–1600 (small sensors up to 800)widest available1–4 s (1” sensors) / 0.5–2 s3500–4000 KSingle-shot RAW; multiple frames for stacking noise reduction
  • Use single shot with 2–3 s hover for long shutters; stabilised gimbal, GPS on, obstacle sensors on unless they fail in the dark.
  • Turn on histogram + zebra; protect highlights first.
  • Panorama modes (Sphere, 180°, Wide): shoot stills, fix WB manually and stitch in post for a higher resolution and cleaner skyline.
Video settings

Resolution & frame rate

  • 4K at 24/25/30 fps for a cinematic look; 50/60 fps for slow motion (conform to 24/25/30 in the edit).
  • Bitrate/codec: highest quality available (H.265/10-bit if supported).
  • Shoot in a flat/log profile (D-Log, D-Cinelike) only if you will colour grade; else use Normal.

Shutter & ND (180° rule)

  • Shutter ≈ 2× frame rate: 24 fps → 1/50, 30 fps → 1/60, 60 fps → 1/120.
  • Use ND filters to hold that shutter in daylight: ND8–ND16 golden hour; ND32–ND64 midday.
  • Lock ISO 100 (native) and fixed WB (5600 K); avoid Auto WB shifts.
  • At night: ISO 400–800 max, 24/25 fps, shutter 1/50, no ND.

Camera moves that suit skylines

  • Reveal / pull-back from the railing to the skyline.
  • Slow orbit around a landmark at constant altitude and speed.
  • Push-in with the gimbal tilted slightly down; use Cine mode / lowest speed.
  • Top-down over roads for light trails at blue hour.

Quality & safety tips

  • Keep altitude modest (check local rules and the building’s limits); never fly over people or roads.
  • Check your ND/WB lock before each take; review footage on the screen with zebras.
  • Land with ≥ 25–30% battery; cold wind drains batteries faster.
  • Watch the live image for signal jamming or sudden loss of link — if it happens, return-to-home and land.

Drone menus and limits differ by model (e.g., Mini vs Air vs Mavic). Treat the numbers as starting points and confirm with your manual.

10 · The people behind it

Partners & lecturer

Presenting partner

DMCI Homes

In partnership with DMCI Homes. Roof-deck venues for Metroscapes 35.

Workshop partner

Fujifilm Philippines

Special workshop: “Telephoto Lenses: Composition and Techniques for Landscape Photography”, Sat Oct 17, 3:00 PM, Amina Tower Roof Deck.

Lecturer

Jay Jallorina

Author of the “Recommended Camera Settings, Filters & Techniques” lecture (Chasing Light) that the settings on this page build on.

Hashtags: #DMCIHomesRoofDeckViews · #DMCIHomesxMetroscapes · #Metroscapes

11 · What’s next

Notify me for the next Metroscapes

Sign up to hear about the next Metroscapes, including the additional Fortis Residences (Makati) date once it is confirmed.

12 · FAQ

Good to know

What do I do when I arrive?

Identify yourself to the building security as part of the photography group “METROSCAPES” shooting at the roof deck. Register at the lobby security desk and be ready to present a valid ID. Once security permits, proceed to the roof deck and start shooting when you’re ready.

When should I arrive?

Don’t arrive too early. We don’t want to inconvenience the residents.

Is there parking?

Each venue has limited parking, first come first served. If you’re driving, tell security and use the designated / available / paid parking slot.

When is sunset, and what light should I plan for?

Sunset in Metro Manila is around 5:30 PM in mid-October. Plan to be set up and framed for golden hour, then stay for blue hour (about 10–30 minutes after sunset) and night.

Can I fly a drone?

The briefing allows flying from the roof deck at the participant’s own risk. At Torre de Manila (Oct 18) flying is severely discouraged because drone-jamming technology is present in the area. Check your drone app’s no-fly/geofence map and Philippine CAAP rules before flying, and ask building security first.

Is there a waiver?

Yes. The organizer, Metroscapes, its assistants, DMCI Homes, sponsors and related groups are not responsible for damage or harm to you or caused by you during the activity. You will be asked to sign a waiver release before the shoot.

What happened to the Fortis Residences (Makati) shoot?

The original Day 1 shoot at Fortis Residences, Makati will be held on a later, additional date. An invitation will be sent once it is confirmed.

Are there giveaways?

There might be giveaways courtesy of our sponsors. Only participants who are present during the distribution are entitled to the raffle items.

How do I hear about the next Metroscapes?

Use the Notify me form on this page and we will let you know.

Take care of your belongings. Always handle your gear away from the edge. When changing lenses or attaching filters, move away from the edge of the roof deck. The organizer, Metroscapes, its assistants, DMCI Homes, sponsors and related groups are not responsible for damage or harm to you or caused by you during the activity. You will be asked to sign a waiver release before the shoot.

There might be giveaways courtesy of our sponsors. Only participants who are present during the distribution are entitled to the raffle items.

See you on the roof.

Illustrative imagery: AI-generated atmosphere images (OpenArt) to show the look of each angle and time of day. They are not photographs by participants and not from the event venues. Event poster and lesson frames are from the Metroscapes participant guide.

Metroscapes 35Oct 16–18
Notify me — next Metroscapes